Code
library(mindseyedata)
library(dplyr)
library(ggplot2)
library(waffle)
library(ggthemes)Packages, including data packages, are a vital part of the R ecosystem and yet I’ve been using R for the best part of a decade without ever making one of my own. Until now.
I’ve recently been reading about using R data packages for reproducible research, and I decided it was time to rectify my omission by making a small practice package of cleaned-up datasets for reuse on this blog.
There are plenty of resources (see list at the end of the post), but some are a lot more detailed than you need to get going. I found this step by step introduction particularly helpful. I also found it useful to look at the structure of existing data packages such as historydata and HistData
This is largely based on the guide linked above but it’s not a full set of instructions! There are several steps to the process; they aren’t difficult but they need to be done in the right order. So this is really just a checklist to guide me through in future.
usethis::create_package(). It will contain various mandatory files and folders (including R/, data/ and man/)data-raw folder with some .R scripts for processing. Extras like these shouldn’t go in the data/ or R/ folders. To make the actual package data, need an extra line at the end of the processing script: usethis::use_data(dataset_name, overwrite = TRUE). That will create the required .rda file in the data/ folder; to update it you’d just run the script again.# ' (I copy and pasted from existing data packages to get started).usethis::use_ccby_license()devtools::document() (this turns the step 5 R scripts into .Rd files in the man/ folder)devtools::check()devtools::install()The package (though it’s only really intended for my use and lacks proper documentation) is on Github. It may expand and get properly documented in the future.
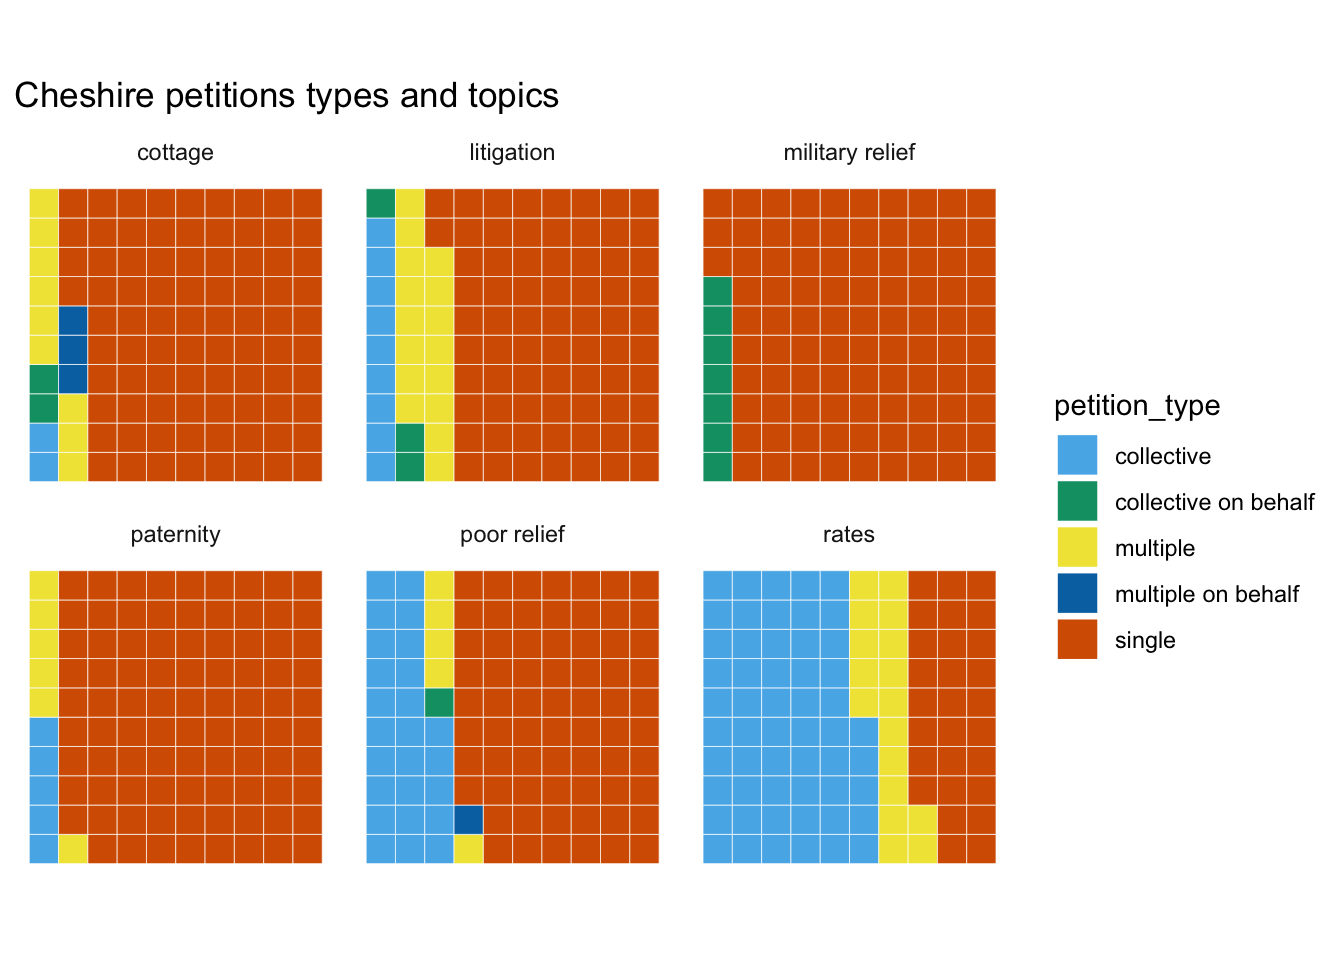
I started with just a couple of datasets that I’ve previously explored here or elsewhere, coroners (London Lives coroners’ inquests) and cheshire_petitions (TPOP Cheshire petitions).
library(mindseyedata)
library(dplyr)
library(ggplot2)
library(waffle)
library(ggthemes)coroners |>
count(verdict, gender) |>
filter(verdict !="undetermined") |>
ggplot(aes(fill=verdict, values=n)) +
geom_waffle(colour="white", n_rows = 10, make_proportional = TRUE) +
coord_equal() +
scale_fill_ptol() +
theme_minimal() +
theme_enhance_waffle() +
facet_wrap(~gender) +
ggtitle("Westminster coroners' inquests: verdicts by gender")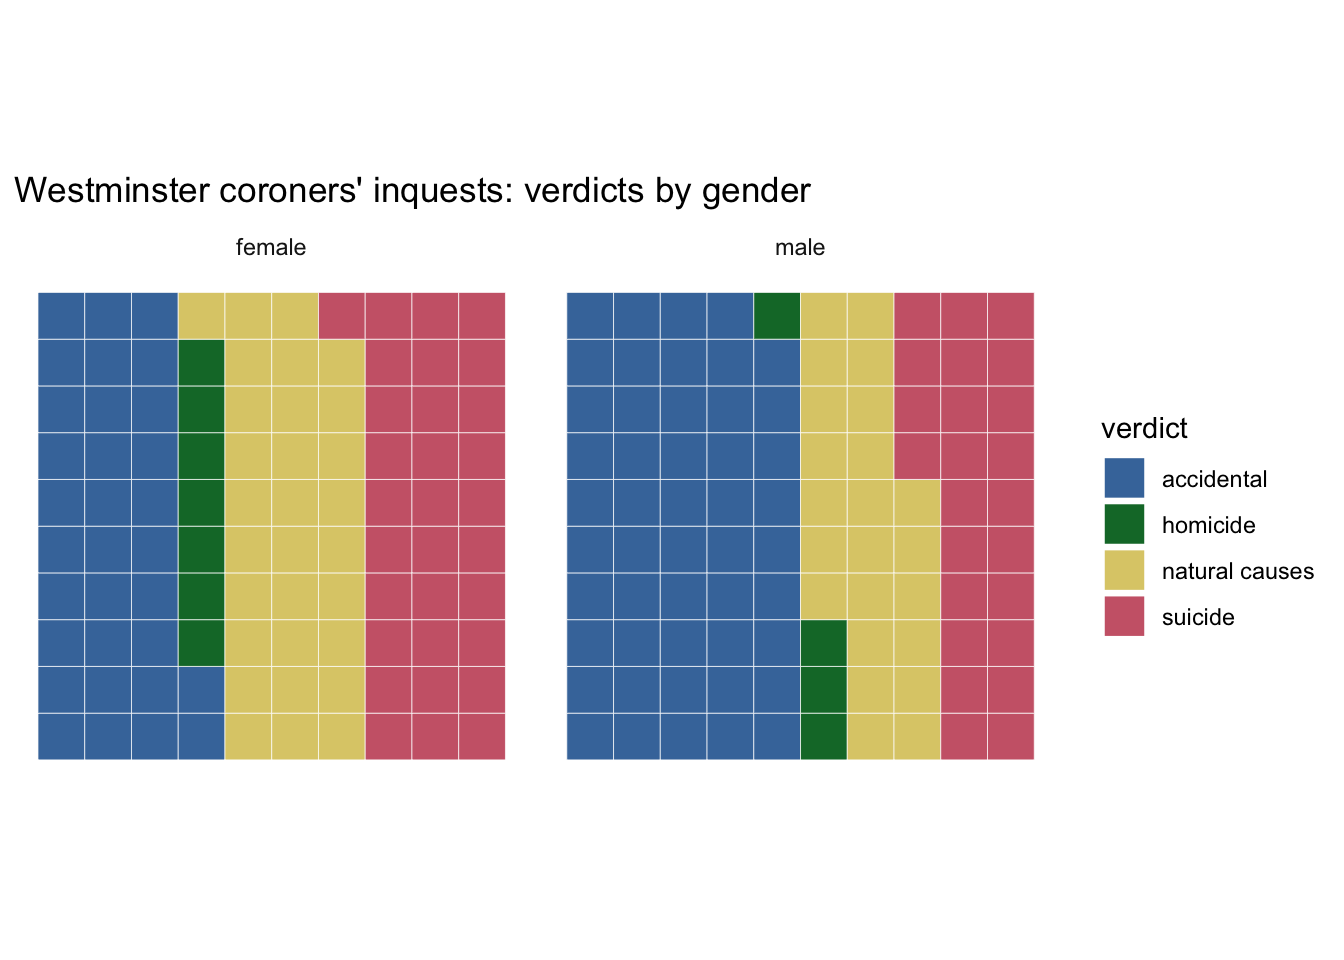
cheshire_petitions|>
  add_count(topic, name="n_topic") |>
  filter(n_topic>25) |>
  count(petition_type, topic) |>
  ggplot(aes(fill=petition_type, values=n)) +
  geom_waffle(colour="white", n_rows = 10, make_proportional = TRUE) +
  coord_equal() +
  scale_fill_pander() +
  theme_minimal() +
  theme_enhance_waffle() +
  facet_wrap(~topic) +
  ggtitle("Cheshire petitions types and topics")